If you’re looking to whip up a warm, gooey skillet cookie without starting from scratch, using premade dough is a smart shortcut. You’ll want to choose the right dough and prep your skillet carefully to get that perfect balance of crispy edges and a soft center.
With a few simple steps, you can transform store-bought dough into a skillet cookie that feels homemade. But there’s a key technique you won’t want to miss before you bake.
Key Takeaways
- Choose premade dough based on desired flavor, sweetness, and texture, such as chocolate chip, peanut butter, or oatmeal raisin.
- Grease a cast-iron skillet thoroughly with butter or oil to ensure even browning and prevent sticking.
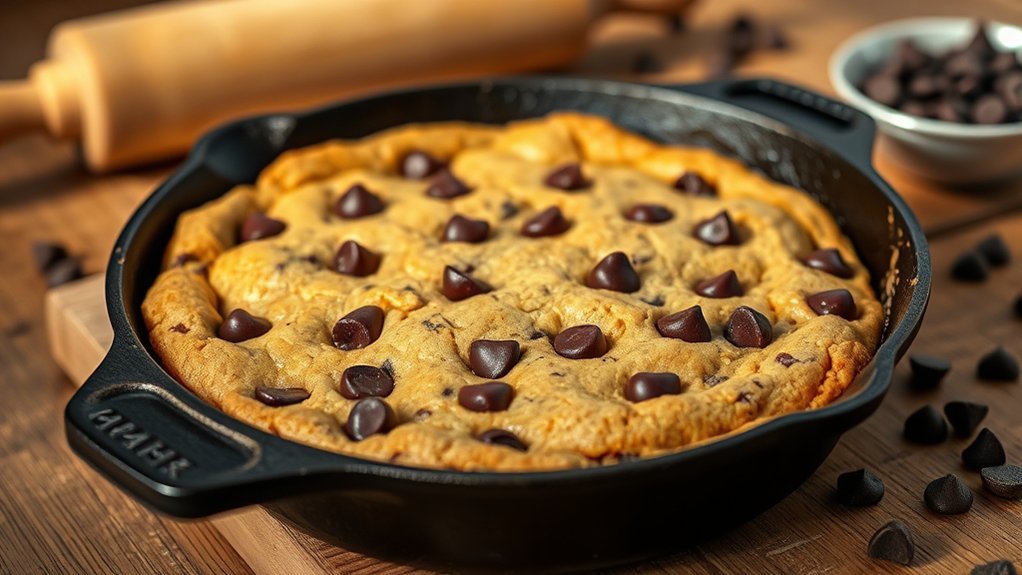
- Preheat the skillet and bake the dough at 350°F for 18-22 minutes until edges are golden and the center is slightly underbaked.
- Let the cookie rest a few minutes before serving to firm the center, then top with ice cream, chocolate, or berries if desired.
- Store leftovers in an airtight container at room temperature for 2 days or refrigerate up to a week, reheating to restore softness.
Choose the Best Premade Dough for Your Skillet Cookie
How do you pick the perfect premade dough to make your skillet cookie truly unforgettable? Start by exploring different premade dough選選 options: chocolate chip, peanut butter, or even oatmeal raisin. Each type brings unique flavors and textures that shape your skillet cookie variations.
Think about the dough’s sweetness level and how it melts under heat. Softer doughs create gooey centers, while firmer ones hold shape better. Don’t hesitate to read ingredient labels for quality and freshness.
If you want to experiment, try mixing two dough types for a creative twist. Remember, the best premade dough aligns with your taste preferences and desired cookie style, so choose one that excites you and sets the stage for a delicious, customizable skillet cookie experience.
Tools and Ingredients for Skillet Cookies
To create a perfect skillet cookie, gathering the right tools and ingredients is essential. You’ll need more than just premade dough; the right setup helps you bake evenly and add delicious flair. Here’s what to have on hand:
- A cast-iron skillet for even heat distribution
- Premade cookie dough, try variations like chocolate chip or oatmeal for different textures
- Measuring spoons to sprinkle sugar or spices on top
- Spatula for easy lifting and serving
- Toppings like nuts, chocolate chunks, or caramel bits; ideas about toppings let you customize each batch
With these tools and ingredients, you’re set to whip up a skillet cookie that’s crispy on the edges, gooey inside, and packed with your favorite flavors.
Preparing Your Skillet for Baking Skillet Cookies
You’ll want to pick a skillet that heats evenly and holds heat well, like cast iron, to get that perfect golden crust.
Before you add the dough, make sure to grease the skillet thoroughly to prevent sticking and help with easy cleanup. Taking these steps sets the stage for a beautifully baked skillet cookie every time.
Choosing The Right Skillet
Which skillet should you reach for when making a skillet cookie? Choosing skillet size and material impacts how your cookie bakes, especially the dough thickness. A smaller skillet creates a thicker, gooier cookie, while a larger one spreads the dough thinner and bakes more evenly.
Consider these tips when choosing your skillet:
- Opt for cast iron for even heat distribution.
- Select an 8- or 10-inch skillet for ideal dough thickness.
- Avoid nonstick pans that can affect browning.
- Ensure your skillet is oven-safe for consistent baking.
- Thicker skillets hold heat longer, improving crust formation.
Preparing The Skillet Surface
How exactly do you prepare your skillet to guarantee a perfectly baked cookie every time? First, ensure your skillet is clean and dry. If it has a nonstick coating, avoid using metal utensils or abrasive scrubbers that could damage it. This is crucial for preparation safety.
Lightly grease the skillet with butter or a neutral oil, spreading it evenly to create a slick surface. This step prevents sticking and helps the cookie brown beautifully. If your skillet isn’t nonstick, consider lining it with parchment paper for an extra layer of protection and easy cleanup.
Always check your skillet’s manufacturer instructions to maintain its coating and ensure safe baking. With these simple steps, your skillet surface will be perfectly prepped for a delicious, gooey skillet cookie every time!
Baking Your Skillet Cookie
When should you pull your skillet cookie from the oven to achieve that perfect gooey center with a golden, crisp edge? Timing is key to balancing dough texture and flavor pairing in your skillet cookie.
Aim for about 18-22 minutes at 350°F, but keep an eye on these signs:
- Edges should be golden brown and set.
- Center looks slightly underbaked but not raw.
- The dough texture will firm up as it cools.
- Smell the sweet aroma signaling flavor pairing harmony.
- Insert a toothpick near the edge; it should come out with moist crumbs.
Pull it out just before the center fully sets to enjoy that irresistible contrast between crisp edges and gooey middle. Let it rest for a few minutes before digging in!
Tips for Crispy Edges and Gooey Centers on Skillet Cookies
To get those perfect crispy edges and gooey centers, start with dough that’s slightly chilled but pliable. Heat your skillet evenly before adding the dough to ensure a golden crust without burning.
Adjust your baking time carefully, shorter for gooey centers, longer for crispier edges to nail the ideal texture every time.
Optimal Dough Temperature
Why does dough temperature matter so much for skillet cookies? The optimal dough temperature sets the stage for those crispy edges and gooey centers you crave. Temperature control ensures your cookie bakes evenly and achieves the perfect texture contrast.
To nail the optimal dough temperature, keep these tips in mind:
- Use dough straight from the fridge for firmer edges.
- Let dough sit at room temperature 10-15 minutes for a softer center.
- Avoid overly warm dough; it spreads too fast, losing gooeyness.
- Chill the dough slightly if your kitchen’s warm.
- Experiment with small temperature adjustments for your ideal texture.
Mastering dough temperature control is your secret weapon to skillet cookie perfection every time.
Pan Heating Techniques
Controlling your dough’s temperature sets the foundation, but how you heat your skillet shapes the final cookie texture. Start by preheating your pan over medium heat to ensure even pan heating. A properly warmed skillet helps trigger caramelization science, creating those irresistible crispy edges while locking in gooey centers.
Avoid cranking the heat too high; this risks burning edges before the middle cooks. Instead, steady, moderate heat encourages sugar and butter to brown perfectly, enhancing flavor and texture. If your pan isn’t hot enough, the cookie won’t crisp up well.
Consider using a cast iron skillet. It distributes heat evenly, supporting uniform caramelization. Mastering pan heating is your secret weapon to achieving that ideal skillet cookie: golden, crisp on the outside, tender and melty inside.
Baking Time Adjustments
How long you bake your skillet cookie makes all the difference between crispy edges and a gooey center. To nail that perfect texture, consider these baking time adjustments based on your dough temperature and skillet size:
- If your dough is chilled, add 3-5 minutes to the baking time for even cooking.
- For room temperature dough, stick close to the recipe’s suggested time to avoid overbaking.
- Remove the cookie when the center still jiggles slightly; it will firm up as it cools.
- To get crispier edges, bake a few minutes longer but watch carefully to prevent burning.
- If you want a gooey center, pull the cookie out earlier and let residual heat finish the job.
Adjusting baking time is key to balancing gooey and crispy textures perfectly.
Fun Ways to Customize Your Skillet Cookie
Where can you take a simple skillet cookie to make it truly unforgettable? Right into the realm of creative toppings and adventurous flavor pairings. Start by sprinkling chopped nuts, sea salt, or mini marshmallows over the dough before baking for extra texture and surprise.
After it’s out of the oven, drizzle caramel or chocolate sauce, or add a scoop of your favorite ice cream to create an indulgent contrast. Don’t hesitate to experiment with unconventional ingredients like crushed pretzels, espresso powder, or fresh berries to elevate the flavor profile.
How to Serve and Store Your Skillet Cookie
When should you dig into your skillet cookie to enjoy it at its best? Ideally, serve it warm, right out of the oven, when the edges are crispy and the center is gooey.
For the perfect bite, enjoy your skillet cookie warm from the oven with crispy edges and a gooey center.
Here are some serving ideas and storage tips to keep your cookie delicious:
- Top with a scoop of vanilla ice cream for a classic treat
- Drizzle melted chocolate or caramel for extra sweetness
- Add fresh berries or whipped cream for a fruity twist
- Store leftovers in an airtight container at room temperature for up to 2 days
- Refrigerate for up to a week, then warm before serving to revive softness
Following these tips ensures your skillet cookie stays irresistible whether you’re serving immediately or saving some for later!
Frequently Asked Questions
Can I Use a Non-Stick Skillet for Baking a Skillet Cookie?
You can definitely use a nonstick skillet for baking, but remember to avoid high heat to protect the coating.
If you prefer, metal bakeware offers even heat distribution for a perfectly baked skillet cookie every time.
How Long Does a Skillet Cookie Stay Fresh at Room Temperature?
Your skillet cookie stays fresh at room temperature for about two days. To keep that soft texture and warm flavor, cover it with foil or plastic wrap. This easy step preserves your two word idea: flavor quality.
Is It Safe to Eat Raw Premade Cookie Dough?
Raw dough isn’t completely safe because of the egg risk and potential bacteria. You shouldn’t eat it unless it’s specifically labeled edible or pasteurized. Always play it safe. Bake the dough for a delicious, safe treat!
Can I Freeze a Baked Skillet Cookie for Later?
Can freezing a baked skillet cookie preserve its quality? Absolutely! Wrap it tightly, like a medieval scroll, then freeze.
When you thaw it gently, you’ll enjoy that warm, gooey goodness just as fresh as day one.
What Is the Origin of Skillet Cookies?
You’ll find skillet cookies’ origin stories rooted in dessert legends of rustic, communal baking. They’re said to have evolved from cast-iron pan recipes, blending gooey cookies with warm, homey comfort in one irresistible dish.
Conclusion
Now that you’ve mastered the art of making a skillet cookie with premade dough, you’re ready to wow any crowd. Just remember, the proof is in the pudding—getting those golden edges with a gooey center takes a little love and attention.
Don’t be afraid to experiment with mix-ins and toppings to make it your own. Serve warm, enjoy every bite, and watch this simple treat become your go-to dessert anytime!
With these tips, your skillet cookie with premade dough will always be a delicious success.