You want your cast iron skillet to perform at its best, and that means keeping its surface properly glazed. Glazing a cast iron skillet not only protects the metal but also enhances its non-stick properties, making cooking and cleaning easier.
Before you start, it’s important to understand why and when glazing is necessary. You’ll also need to know the exact steps to prepare, apply, and cure the glaze correctly.
Getting this right will extend your skillet’s life and maintain its performance. Here’s what you need to know to begin.
Key Takeaways
- Clean and remove rust thoroughly using a stiff brush or baking soda paste, then dry and heat the skillet to prevent moisture.
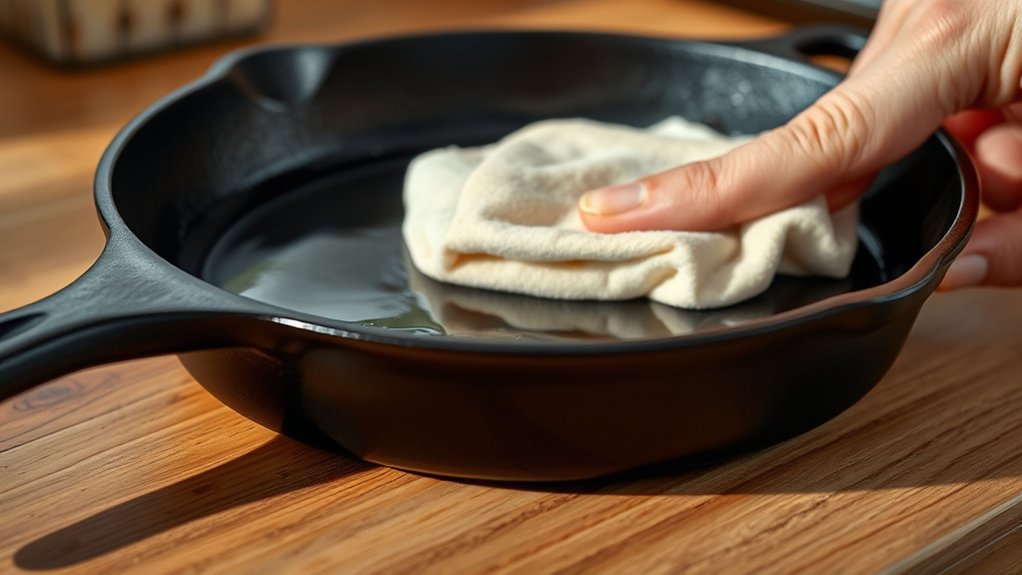
- Apply a thin, even layer of flaxseed or grapeseed oil over the entire skillet and handle using a lint-free cloth.
- Bake the skillet upside down in a preheated oven at 450°F (232°C) for 1 hour to bond the glaze.
- Let the skillet cool inside the oven, then apply a thin coat of high-smoke-point oil for curing.
- Cure the skillet at 375°F (190°C) upside down for 1 hour, then cool gradually to enhance glaze durability.
Why Glazing Your Cast Iron Is Worth It
Glazing your cast iron skillet creates a protective layer that prevents rust and enhances its natural non-stick properties. When you glaze your skillet, you apply a thin, even coating that results in a smooth, glossy finish, making cleaning easier and improving food release.
This layer also contributes to more consistent heat distribution across the surface, allowing your skillet to cook food evenly without hot spots. You’ll notice that the skillet maintains its seasoning longer and resists moisture damage better.
How to Know When Your Cast Iron Skillet Needs Glazing
Although cast iron is known for its durability, you’ll need to reapply a glaze when the surface starts to lose its smoothness or shows signs of rust. You’ll notice the skillet’s glossy finish dulling, and food may stick more than usual.
Also, the aroma depth during cooking diminishes, indicating the seasoning layer has worn off.
| Indicator | What It Means |
|---|---|
| Dull or rough texture | Glaze is wearing thin |
| Rust spots | Protective layer compromised |
| Food sticking | Non-stick quality reduced |
| Faded aroma depth | Seasoning has degraded |
Monitor these signs regularly. Addressing them promptly preserves your skillet’s performance and flavor enhancement.
Supplies and Ingredients Needed for Glazing Your Cast Iron Skillet
Once you spot signs that your cast iron skillet’s surface needs attention, gathering the right supplies and ingredients guarantees a successful glazing process. You’ll need flaxseed oil or grapeseed oil, both popular for creating a durable, glossy finish. Avoid vegetable oils as they can become sticky.
A lint-free cloth or paper towels help you apply thin, even coats, crucial for avoiding uneven seasoning. Have an oven or heat source ready for curing the glaze.
Optional but recommended: fine steel wool or a non-abrasive scrubber for prepping the surface. The seasoning debate centers on oil choice and application technique; using high-smoke-point oils and multiple thin layers ensures optimal results.
With these essentials, you’ll confidently restore your skillet’s surface to a smooth, protective glaze.
How to Clean Your Cast Iron Skillet Before Glazing
Before you start glazing, you need to remove any rust using a stiff brush or fine steel wool. Next, wash the skillet thoroughly with warm water and mild soap, then dry it completely to prevent new rust from forming.
Proper cleaning ensures your glaze adheres evenly and lasts longer.
Removing Rust Effectively
Why does rust form on your cast iron skillet in the first place? Rust appears when moisture interacts with iron, especially if the skillet isn’t properly dried or seasoned. To tackle rust removal effectively, follow these steps:
- Scrub the rusted areas with steel wool or a stiff brush under warm water to remove surface rust.
- For stubborn rust, apply a paste of baking soda and water, then scrub gently to avoid damaging the skillet.
- Rinse thoroughly and dry immediately to prevent new rust from forming.
After rust removal, focus on rust prevention by seasoning your skillet with a thin layer of oil and heating it. This protective coating keeps moisture away, ensuring your cast iron stays rust-free and ready for glazing.
Washing and Drying Tips
How should you wash and dry your cast iron skillet to prepare it properly for glazing? Start by rinsing the skillet with warm water to remove loose debris. Use a stiff brush or non-metal scrubber, avoid soap, as it can strip seasoning. For stubborn residues, apply coarse salt as a gentle abrasive, then rinse thoroughly. These washing tips ensure the surface is clean without damage.
Next, apply effective drying techniques. Immediately dry the skillet with a clean cloth or paper towel to prevent rust. Then, heat it on the stove over low heat for a few minutes to evaporate any remaining moisture. This step is crucial to maintain a dry, rust-free surface, ready for glazing. Following these washing and drying tips guarantees optimal adhesion and longevity of your glaze.
Step-by-Step Glazing Your Cast Iron Skillet
Where do you begin when glazing your cast iron skillet to ensure a durable, non-stick surface? Start by preparing the skillet carefully, as this step sets the foundation for a smooth, glossy finish and optimal heat distribution.
- Apply a thin, even layer of your chosen glaze or oil all over the skillet, including the handle and exterior. Use a lint-free cloth to avoid streaks.
- Place the skillet upside down in a preheated oven at 450°F (232°C). This orientation prevents pooling and promotes even heat distribution.
- Bake for one hour, then turn off the oven and let the skillet cool inside. This gradual cooling helps the glaze bond effectively, enhancing durability and the skillet’s glossy appearance.
Follow these steps precisely for a professional-quality glaze every time.
How to Cure Your Cast Iron Skillet After Glazing
Once you’ve glazed your skillet and allowed it to cool, the next step is curing it to lock in that protective layer. Preheat your oven to 375°F (190°C). Apply a thin, even coat of high-smoke-point oil over the glaze to enhance the glossy finish and aid bonding.
Place the skillet upside down on the middle rack with a foil-lined tray below to catch drips. Bake it for one hour to allow the seasoning science to fully polymerize and bond with the surface. Afterward, let it cool gradually in the oven to room temperature.
This curing process transforms your glaze into a durable, non-stick layer, ensuring your skillet performs optimally and resists rust. Repeat curing after each glaze application for consistent results.
Common Cast Iron Glazing Mistakes to Avoid
Don’t overheat your skillet, as excessive heat can damage both the pan and the glaze. Always use a glaze specifically designed for cast iron to ensure proper adhesion and durability.
Finally, never skip thorough cleaning before glazing, since leftover residue prevents a smooth, lasting finish.
Overheating The Skillet
A key mistake to avoid when glazing a cast iron skillet is overheating the pan. Overheating pitfalls can cause the glaze to smoke, burn, or fail to bond properly, ruining your seasoning. Mastering temperature control is essential for a durable finish.
- Preheat your oven or stovetop to the recommended low to medium temperature, avoiding high heat that damages the skillet’s surface.
- Monitor the skillet closely during the glazing process to ensure it doesn’t exceed safe temperature limits.
- Use an infrared thermometer or an oven thermometer to maintain consistent heat, preventing hotspots and uneven glazing.
Using Incorrect Glaze
Choosing the right glaze is essential to achieving a durable, non-stick finish on your cast iron skillet. Avoid glazing confusion by selecting a glaze specifically formulated for cast iron.
Using incorrect glaze, such as those intended for ceramics or glass, compromises the seasoning layer and can cause peeling or uneven coating. Before applying, confirm the glaze’s compatibility with cast iron to ensure proper adhesion and heat resistance.
Applying an incorrect glaze wastes time and materials, and may damage your skillet’s surface. To prevent this, always read product labels carefully and consult manufacturer guidelines.
Skipping Proper Cleaning
Even if you select the perfect glaze, applying it over a dirty or greasy skillet will undermine your efforts. Skipping proper cleaning is a common glazing mistake fueled by glazing myths and tempting cleaning shortcuts. To avoid this, follow these essential steps before glazing:
- Remove old seasoning and debris using coarse salt and a scrub brush or steel wool.
- Rinse thoroughly with hot water and dry completely to prevent rust formation.
- Wipe the skillet with a solvent like isopropyl alcohol to eliminate any remaining oils or residues.
Don’t fall for glazing myths suggesting you can glaze over grease or leftover seasoning. Proper cleaning ensures the glaze bonds effectively, delivering a durable, smooth finish that enhances your cast iron skillet’s performance and longevity.
Tips to Keep Your Glazed Cast Iron Skillet Non-Stick and Durable
How can you ensure your glazed cast iron skillet stays non-stick and durable over time? First, avoid cooking acidic foods frequently, as they can degrade the glaze durability. Always preheat your skillet gradually to prevent thermal shock, which can cause cracks in the glaze.
After each use, clean it gently with warm water and a soft brush. Skip harsh detergents or steel wool that strip the protective layer. Dry the skillet thoroughly and apply a thin layer of oil to maintain the glaze’s integrity and promote nonstick longevity.
Store your skillet in a dry place to prevent moisture buildup, which weakens the glaze. By following these steps, you’ll extend your skillet’s performance, ensuring it remains reliably non-stick and durable for years.
When and How Often to Reglaze Your Cast Iron Skillet
When should you reglaze your cast iron skillet to maintain its optimum performance? Understanding glazing frequency and following proper reglazing intervals is key to preserving your skillet’s non-stick surface and durability. Reglazing isn’t needed frequently, but you should act when signs show wear.
- Surface Damage: Reglaze if you notice rust, flaking, or dull patches disrupting the seasoned layer.
- Food Sticking: Increased sticking signals the seasoning has degraded and needs renewal.
- Regular Maintenance: For heavy use, reglaze every 1–2 years to maintain peak performance.
Frequently Asked Questions
Can I Glaze a Cast Iron Skillet in a Dishwasher?
You shouldn’t glaze a cast iron skillet in a dishwasher because it strips the seasoning and ruins the glossy finish.
Instead, maintain your skillet with a proper maintenance routine, including hand washing and regular oiling.
Is Glazed Cast Iron Safe for Acidic Foods?
Think of your skillet as a shield; a properly glazed cast iron with safe seasoning protects it, letting you confidently cook acidic foods without worry. This barrier prevents damage, ensuring safety and flavor in every meal you create.
How Does Glazing Affect Heat Distribution?
Glazing slightly alters heat distribution by adding a thin, smooth layer that enhances heat retention. You’ll notice glaze effectiveness improves even cooking, reducing hot spots and ensuring your cast iron skillet heats more consistently across its surface.
Can I Use Vegetable Oil Instead of Flaxseed Oil for Glazing?
You can use vegetable oil as glazing oil, but flaxseed oil offers superior polymerization and durability. Consider material compatibility; vegetable oil may not create as hard a finish. Flaxseed oil is generally recommended for best results.
Will Glazing Change the Skillet’s Cooking Time?
Think of glazing like adding a smooth coat to a car. It doesn’t speed up the engine. The glazing technique enhances heat retention, so you might notice more even cooking, but your skillet’s cooking time won’t considerably change.
Conclusion
Glazing your cast iron skillet is like giving your trusty tool a protective armor, ensuring it stays non-stick and rust-free. By following the proper cleaning, glazing, and curing steps, you’ll extend its life and enhance cooking performance.
Remember to avoid common mistakes and reglaze when needed. With consistent care, your skillet will serve you like a well-trained partner in the kitchen—reliable, durable, and ready for every meal.
To keep your skillet in top shape, regular glazing is essential. Proper glazing maintains its non-stick surface and prevents rust, making your cast iron skillet a long-lasting kitchen staple.