You’ll want to start by gathering the right ingredients and prepping your skillet just right for making Chili’s Skillet Queso. Melting cheese to that perfect creamy texture takes a careful touch, especially when balancing spices like jalapeños without overpowering the blend.
Mastering this process ensures every bite is smooth and flavorful. But what’s the secret to keeping the queso silky and preventing it from separating?
Keep following along, and you’ll find out.
Key Takeaways
- Combine sharp cheddar, Velveeta, diced tomatoes with green chilies, finely chopped onions, and jalapeños for authentic Chili’s queso flavor.
- Prepare a roux with butter and flour in a preheated, lightly oiled cast-iron skillet for smooth cheese sauce base.
- Gradually whisk in milk, then fold in shredded cheese, seasoning with cumin, paprika, chili powder, and jalapeños for balanced heat.
- Melt cheese slowly over low heat, stirring constantly to achieve creamy texture without separation or graininess.
- Store leftovers in airtight containers and reheat gently on low heat, stirring often and adding milk to restore creaminess.
Gather Ingredients for Chili’s Skillet Queso
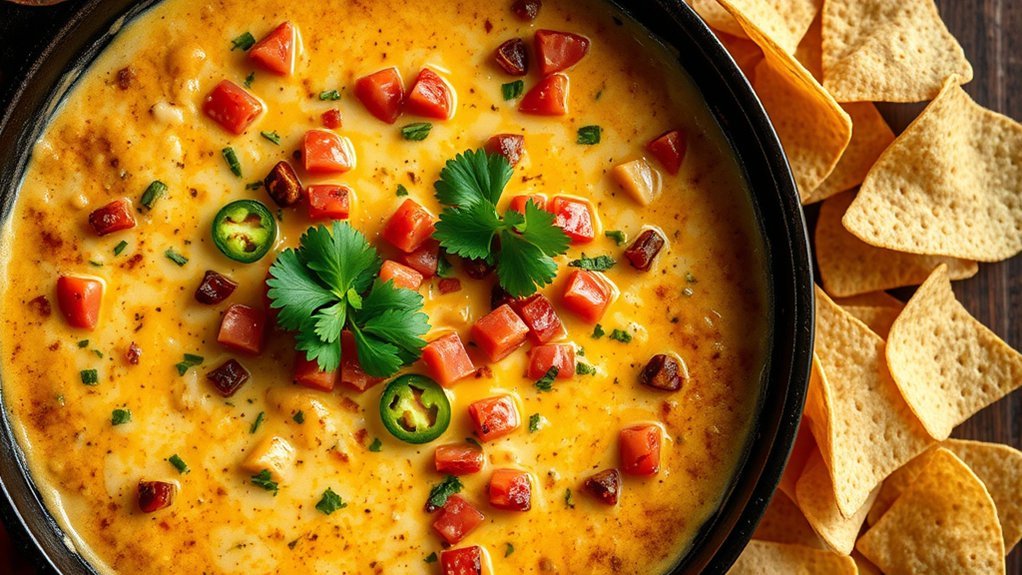
Where do you start when making Chili’s famous Skillet Queso? First, gather fresh, quality ingredients: sharp cheddar, creamy Velveeta, and diced tomatoes with green chilies. Don’t forget to include finely chopped onions and jalapeños to achieve that perfect spice balance, giving your queso a gentle kick without overwhelming heat.
Having the right spices on hand, like cumin and paprika, ensures your queso sings with flavor. Be sure to measure carefully; too much spice can overpower, while too little leaves it bland.
Once cooked, store any leftovers properly in airtight containers to maintain creaminess and prevent separation. This leftover storage tip keeps your queso fresh and ready for a quick reheat, so you can enjoy the same delicious dip again.
Prepare Your Cast-Iron Skillet for Melting Cheese
Before you start melting the cheese, make sure your cast-iron skillet is properly prepped to prevent sticking and ensure even heat distribution. A well-seasoned skillet enhances flavor and keeps your queso smooth and creamy.
Properly prepping your cast-iron skillet ensures even heat and a smooth, creamy queso every time.
Start by wiping your skillet with a thin layer of oil to maintain its cast iron seasoning. Then, preheat it gently on low heat to avoid hot spots that can burn cheese. Finally, choose cheese pairings that melt well and complement each other for the best texture and taste.
- Lightly oil the skillet to preserve seasoning and prevent sticking
- Warm the skillet gradually for even melting
- Select cheeses like Monterey Jack or Cheddar for smooth, luscious queso
This prep sets the stage for perfect melting without frustration.
Step-by-Step: Make Chili’s Skillet Queso
You’ll start by gathering all the essential ingredients, from creamy cheeses to flavorful spices that give Chili’s Skillet Queso its signature taste. Then, you’ll follow a simple cooking process that blends everything smoothly in your cast-iron skillet.
Let’s break down each step so you can recreate this cheesy delight perfectly every time.
Essential Ingredients Overview
What makes Chili’s Skillet Queso irresistibly creamy and flavorful? It’s all about selecting the right essential ingredients that come together to create that perfect dip. You’ll want to focus on two word discussion idea 1 and two word discussion idea 2 to capture the authentic taste and texture.
Here are the key ingredients you’ll need:
- Velveeta cheese: This processed cheese gives the queso its signature smooth melt and creamy texture.
- Roasted green chilies: They add a mild heat and smoky flavor that balances the cheese’s richness.
- Diced tomatoes with green chilies: These bring freshness and a subtle kick, enhancing the dip’s layered flavor.
Mastering these essentials sets you up for a queso dip that’s both rich and satisfying without extra fuss.
Cooking Process Breakdown
How do you transform those simple ingredients into a creamy, irresistible skillet queso? Start by warming a heavy-bottomed skillet over medium heat. This “preheating” step ensures even cooking.
Next, use the kitchen jargon “roux” to describe your flour and butter mixture; whisk them until they form a smooth paste. This is your base for thickening the cheese sauce.
Slowly add milk, stirring constantly to avoid lumps—this technique is called “tempering.” Once your sauce thickens, gradually fold in shredded cheese, letting it melt into a velvety blend.
Don’t forget to season with chili powder and diced jalapeños for that signature kick. Familiarizing yourself with these glossary terms and mastering each step guarantees a smooth, luscious queso that’s perfect for dipping.
How to Make Your Queso Smooth and Creamy
To get that signature smooth and creamy queso, you’ll want to start by picking the right cheese that melts evenly without clumping.
Next, melt your cheese slowly over low heat to prevent separation and achieve a silky texture.
Finally, stir in creamy ingredients like milk or cream to boost richness and keep every bite luscious.
Choosing The Right Cheese
Which cheeses transform ordinary queso into a velvety, irresistible dip? Your choice of cheese directly affects the cheese texture and flavor pairing, making all the difference. To get that perfect balance, consider these options:
- Monterey Jack: Smooth, mild, and melts beautifully, creating a creamy base.
- White American: Offers excellent meltability with a subtle, buttery flavor that blends seamlessly.
- Queso Blanco: Adds a fresh, slightly tangy note while maintaining a silky texture.
Each cheese brings its own character, so combining them can elevate your queso’s complexity. Remember, picking the right cheese isn’t just about taste; it’s about achieving that luscious texture that clings to every chip. Choose wisely, and your skillet queso will be irresistible every time.
Proper Melting Techniques
Although selecting the right cheese is essential, mastering the melting process is what truly transforms your queso into a silky, creamy delight. To achieve that perfect texture, melt your cheese slowly over low heat, stirring constantly to prevent clumping or scorching.
Avoid high heat, which can cause the cheese to separate and become grainy. If you want to experiment with dairy substitutions, try blending in cream cheese or evaporated milk gradually, as they help maintain a smooth consistency.
Adding Creamy Ingredients
How do you achieve that irresistibly smooth and creamy texture that makes Chili’s skillet queso stand out? The secret lies in carefully adding creamy ingredients that enhance both texture and flavor balance. When you master this concept pairing, your queso will glide effortlessly on every chip.
To get that perfect creaminess, consider these essentials:
- Heavy cream or half-and-half: Adds luscious richness without overpowering the cheese.
- Cream cheese: Smooths out the queso, giving it a velvety finish and subtle tang.
- Evaporated milk: Thickens the mixture while preserving that classic queso flavor.
Add the Perfect Amount of Spice With Jalapeños
Wondering how to give your skillet queso that signature kick? Jalapeños are your best bet. Their vibrant flavor and moderate heat levels add just the right spice without overpowering the creamy base.
To control the heat, consider the jalapeño heat levels. Remove seeds and membranes to reduce intensity or keep them for a bolder punch. If you want to incorporate fresh lime juice but lack a juicer, don’t worry; juicer alternatives like using a fork or squeezing by hand work perfectly.
Finely chop the jalapeños and stir them in gradually, tasting as you go. This way, you tailor the spice to your preference, ensuring your queso delivers that authentic Chili’s zing every time.
Best Chips and Sides to Serve With Chili’s Skillet Queso
Once you’ve perfected the spicy balance with jalapeños, pairing your skillet queso with the right chips and sides will elevate the entire experience. Understanding cooking science helps you appreciate how texture contrasts heighten flavor enjoyment.
You want chips that are sturdy enough to hold the creamy queso without breaking, creating a satisfying crunch against the smooth dip.
Consider these ideal accompaniments:
- Thick, kettle-cooked tortilla chips: Their robust crunch contrasts beautifully with the queso’s silky texture.
- Fresh veggie sticks (carrots, celery): They add a crisp, refreshing bite to balance richness.
- Warm, soft flour tortillas: Perfect for scooping and adding a tender, chewy element.
These choices highlight texture contrasts and enhance every bite, making your Chili’s Skillet Queso experience unforgettable.
How to Store and Reheat Leftover Queso
Where should you keep your leftover skillet queso to maintain its creamy texture and bold flavors? Store it in an airtight container and refrigerate promptly. This ensures freshness preservation and keeps the queso from drying out or absorbing other odors.
When you’re ready to enjoy it again, reheating safety is key. Never heat queso directly from the fridge on high heat. Instead, warm it gently over low heat on the stove or in short bursts in the microwave, stirring often. This prevents scorching and helps the cheese melt smoothly without separating.
If the queso thickens too much, add a splash of milk or cream to bring back that irresistible, silky consistency you love. Following these steps keeps your leftover queso just as delicious as when it was freshly made.
Variations to Customize Your Chili’s Skillet Queso
Keeping your leftover queso fresh and creamy is just the start. Now it’s time to make the dish truly your own. You can add nostalgic twists or cater to special diets with ease.
Keeping your queso fresh is just the beginning—now personalize it with flavors and options that suit your style.
To customize your Chili’s Skillet Queso, consider these ideas:
- Spice it up with diced jalapeños or smoky chipotle for a bold kick that’s sure to delight.
- Add protein like cooked chorizo or seasoned ground beef to make it heartier and more filling.
- Go gluten free by pairing your queso with gluten free chips or veggies, ensuring everyone can enjoy it safely.
These variations let you tailor the classic queso to your taste and dietary needs while keeping that iconic creamy texture and flavor you love.
Frequently Asked Questions
Can I Use a Non-Cast-Iron Skillet Instead?
Yes, you can use nonstick alternatives like an aluminum skillet, but be careful with heat. They heat quickly and unevenly, so watch closely to keep your queso creamy and smooth without burning or sticking to the pan.
What Type of Cheese Is Best for Authentic Flavor?
You’ll find that using a blend of Velveeta and sharp cheddar gives you that creamy cheese flavor and perfect spice balance.
It melts smoothly, creating a rich, velvety dip that’ll keep everyone coming back for more.
How Long Does Chili’s Skillet Queso Last in the Fridge?
You should eat Chili’s skillet queso within 3 to 4 days for short storage. After that, texture changes like separation or graininess occur, making it less enjoyable.
Reheat gently to preserve creaminess and flavor.
Can I Make This Recipe Dairy-Free or Vegan?
You can make it dairy-free! With over 30% of people choosing plant-based diets, use dairy-free substitutions like cashew cream and vegan cheese options such as almond-based or soy cheese to keep that creamy, flavorful queso vibe.
Is Chili’s Skillet Queso Gluten-Free?
Chili’s skillet queso isn’t guaranteed gluten free due to possible cross contamination in their kitchen. If you’re sensitive, ask staff about preparation or consider making your own to control gluten exposure and keep it safe.
Conclusion
Who knew that melting cheese could feel like a high-stakes science experiment? But once you master that silky, spicy blend, you’ll realize Chili’s Skillet Queso is less about fancy skills and more about savoring simple, bold flavors.
So, ditch the takeout and impress yourself (and everyone else) with this creamy, comforting dip. Just don’t blame us when you find yourself craving it way more often than you planned!
With this recipe, making Chili’s Skillet Queso at home becomes an easy and rewarding experience you’ll want to repeat again and again.